What are dust caps?
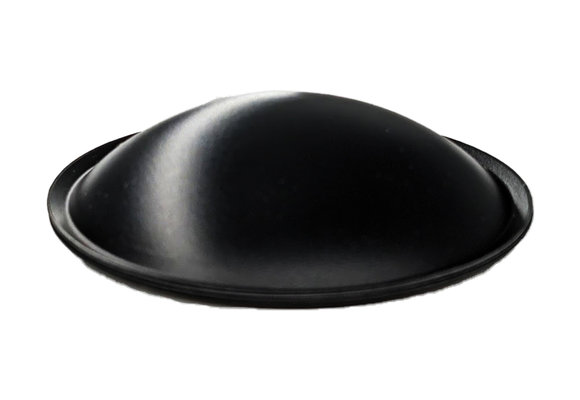
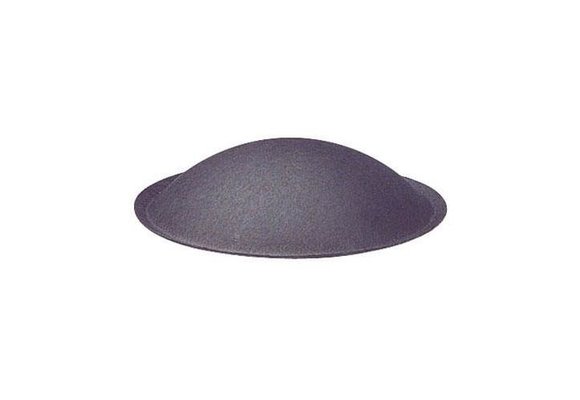
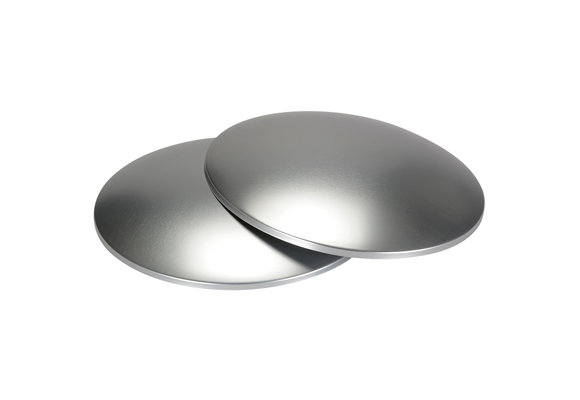
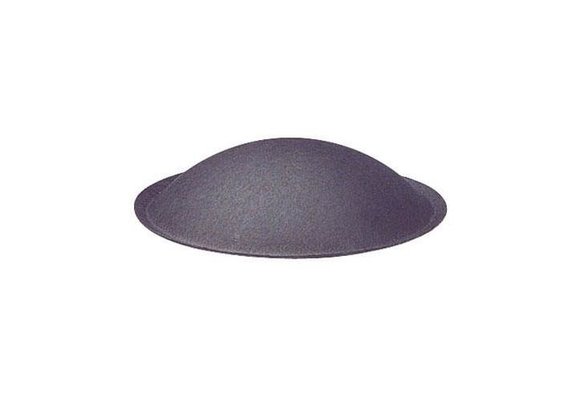
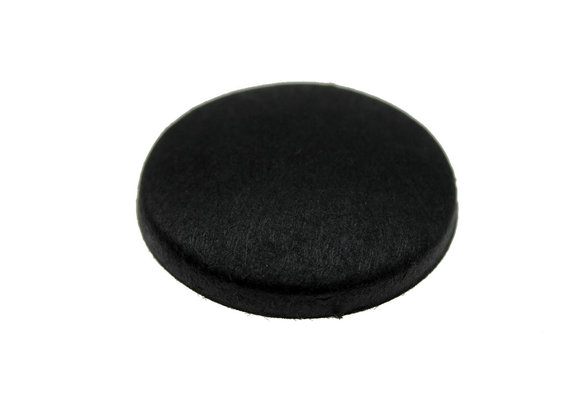
The dust cap, also known as the dome, is a gently curved dome that is fitted over the central hole of most loudspeaker diaphragms to keep out small particles, such as dust or dirt, of the inner mechanics (such as the pole pieces and the voice coil). Dust caps can also help the voice coil assembly, or the cone maintains structural integrity.
Dust caps can be part of the acoustic design of the driver in some loudspeaker designs, either radiating or suppressing high-frequency energy. The dust cap is often composed of the same material as the cone. The dome is the only sound radiating surface in some tweeter designs; therefore, it serves both functions.
Are speaker dust caps necessary?
A dust cap is a semi-circular dome that is present in the cone of a speaker. The purpose of the dust cover is to keep dust and other debris out of the air gap through which the speaker coil moves. Dust caps, unfortunately, are sensitive and break easily, which is why you can find a wide variety of dust caps in different sizes and from various materials, here at SoundImports!
How to install speaker dust caps
Playing a woofer with a broken dust cap could mean the end of it in the long term. The woofer will no longer play according to the specifications because it is no longer acoustically closed. Therefore, the previous dust cap must be discarded.
It's best to start cutting on the speaker's right side because tinsel wires can be seen under the dust cap of many speakers. These connect the voice coil to the woofer connection terminal. You risk harming the tinsel wires if you cut too deeply.
When using a paper speaker cone, be aware that you will normally lose a thin layer of paper when removing the damaged dust cap. A strip of paper can be used to determine the size of the new dust cap. The original dust cap is frequently distorted following removal, resulting in unreliable sizes.
After the new dust cover has been placed on the cone to determine the 'glue zone', the glue has to be applied to the cone of the speaker. To place the new dust caps, you can make a 'handle' of masking tape to easily handle the new dust cap. Simply take a piece of masking tape, and roll it to stick one end of the tape to the other one, creating a circle, that you then carefully attach to the dust cap. Then apply glue to the edge of the dust cap before placing the dust cap on the glue zone. Fit the dust cap on the speaker cone and carefully remove the masking tape.
Use a wooden spatula or any other blunt edge, such as the back of a fork, to gently press the glue edge of the dust cap. After that, secure the dust cap with a weight. Usually, a suitable glass or bowl may be found. After 8-12 hours of drying, you are done!

 Home audio
  Audio components
  Crossover components
  Test & measurement
  DIY kits
  Accessories
  New products
  Speakers
 Amplifiers
 DAC converters
 DSP modules
 Turntables
 Streamers
 Woofers
 Tweeters
 Exciters
 Bass shakers
 Plate amplifiers
 Amplifier modules
 Single board computers
 Assembled crossovers
 Printed Circuit Boards (PCB)
 Capacitors
 Resistors
 Coils
Coils Circuit Breakers
 Crossover tools
 Screw terminals
 Acoustic measurements
 Electric measurements
 Sound level meters
 DIY amplifier kits
 DIY component packs
 DIY speaker kit
 DIY subwoofer kits
 DIY bluetooth speaker
 DIY electronics kits
 Binding posts
 Cabinet Hardware
 Cables
 Connectors
 Speaker cabinets
 Electromechanics
 Power supplies
 Speaker repair
 Workshop & tools
 Amplifier accessories
 Stands & mounts
 Gift voucher
 Books
Books New products





 Speakers
 Amplifiers
 DAC converters
 DSP modules
 Turntables
 Streamers
 Woofers
 Tweeters
 Exciters
 Bass shakers
 Plate amplifiers
 Amplifier modules
 Single board computers
 Assembled crossovers
 Printed Circuit Boards (PCB)
 Capacitors
 Resistors
 Coils
Coils Circuit Breakers
 Crossover tools
 Screw terminals
 Acoustic measurements
 Electric measurements
 Sound level meters
 DIY amplifier kits
 DIY component packs
 DIY speaker kit
 DIY subwoofer kits
 DIY bluetooth speaker
 DIY electronics kits
 Binding posts
 Cabinet Hardware
 Cables
 Connectors
 Speaker cabinets
 Electromechanics
 Power supplies
 Speaker repair
 Workshop & tools
 Amplifier accessories
 Stands & mounts
 Gift voucher
 Books
Books New products
